Professional sports wood floor installation guide: from material selection to completion
In Wooden floors are an integral part of modern sports venues. It is not only beautiful and durable, but also effectively improves the sports experience. However, the installation process of sports wood flooring is relatively complicated and requires professional knowledge and skills. This article will introduce the entire process of sports wood flooring installation in detail and help you understand every key link.
1. Selection of sports wood flooring
1. Wood types
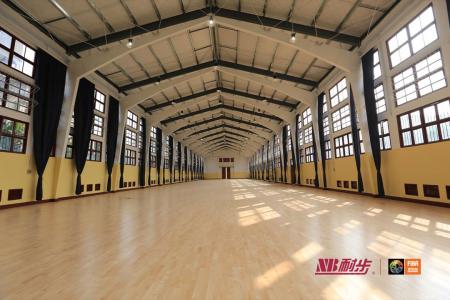
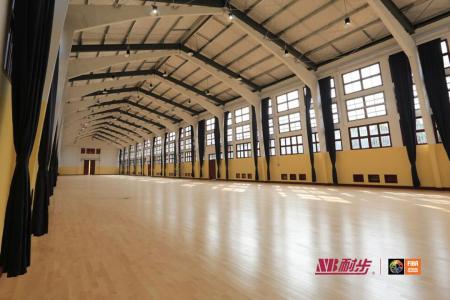
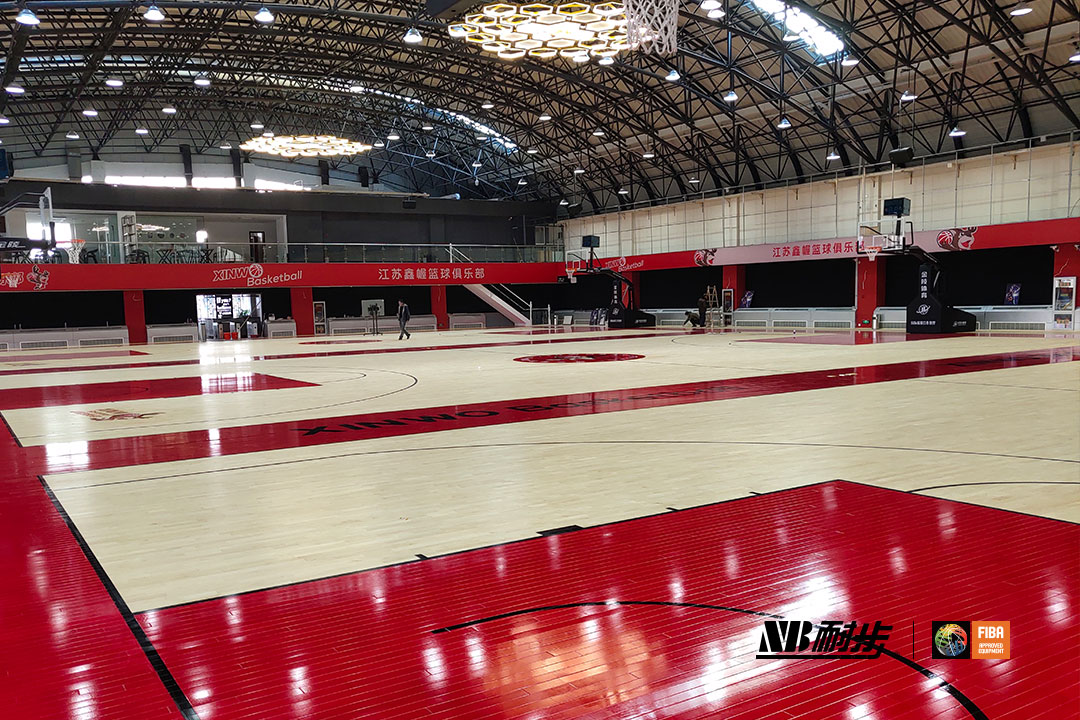
The materials for sports wood flooring are usually hardwoods such as maple, oak and beech. These woods are hard, resistant to wear and tear, and have good elasticity. Among them, maple wood is widely used in high-intensity venues such as basketball courts and volleyball courts due to its excellent performance and beautiful appearance.
2. Grade classification
Sports wooden flooring can be divided into three grades: A, B and C according to quality grade. Grade A wooden flooring has a smooth surface with no scars and uniform color; grade B may have slight color difference and a small amount of scarring; grade C has obvious color difference and more scarring. Depending on the actual needs and budget of the venue, different grades of wooden flooring can be selected.
2. Preparations before installation
1. Treatment of the basic floor
Before installing the wooden floor, the basic floor needs to be processed. First of all, make sure the ground is flat and there is no obvious difference in height. Secondly, the ground must be dry and the moisture content should be controlled below 3% to prevent the wooden floor from being deformed by moisture.
2. Moisture-proof measures
Sports wooden floors are prone to deformation in humid environments, so moisture-proof measures must be taken. A moisture-proof membrane is usually laid on the ground to isolate moisture from the ground. At the same time, sports venues should be equipped with good ventilation and dehumidification systems.
3. Keel design
The keel is the skeleton of the sports wooden floor, and its erection quality directly affects the flatness and service life of the floor. When setting up the keel frame, the spacing should be kept even, usually 40-60 cm. The fixation between the keel and the ground should be firm and reliable to avoid loosening.
3. Installation steps of sports wooden floor
1. Lay moisture-proof membrane
Lay moisture-proof membrane evenly on the ground to prevent ground moisture from penetrating into the wooden floor . The moisture-proof membrane should cover the entire floor and the seams should be sealed with waterproof tape.
2. Install the keels
Lay the keels at predetermined intervals and fix them on the ground with expansion bolts or special nails. When installing, ensure the levelness of the keel, and adjust the height through spacers if necessary.
3. Lay plywood
Lay plywood on the keel. The plywood should be tightly spliced and the joints should be fixed with special nails. The laying direction of the plywood should be perpendicular to the keel to increase the overall strength of the floor.
4. Laying wooden floors
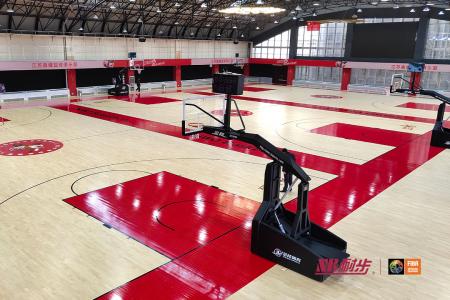
Lay wooden floors on plywood. The wooden floors should be laid at staggered seams to enhance structural stability. When laying, leave appropriate expansion joints to prevent the wooden floor from deforming due to temperature changes.
4. Surface treatment of wooden floor
1. Polishing
After the wooden floor is laid, it needs to be polished. Sanding can remove burrs and unevenness on the floor surface, making the floor smoother and evener. When sanding, you should first sand with coarse sandpaper, and then use fine sandpaper for fine sanding.
2. Painting
After sanding is completed, the wooden floor needs to be painted. Painting not only increases the beauty of your flooring, it also effectively protects the wood. Usually three coats of paint are required, with each coat drying before the next coat.
5. Routine maintenance of wooden floors
1. Cleaning
Sports wooden floors should be cleaned regularly to avoid sand and dust causing wear and tear on the floor surface. When cleaning, wipe with a slightly damp mop to avoid using too much water.
2. Moisture-proof
In humid weather or rainy season, ventilation and moisture removal in sports venues should be strengthened to keep the indoors dry. You can use a dehumidifier or air conditioner to adjust the humidity to prevent wooden floors from getting damp and deforming.
3. Regular maintenance
Sports wood floors require regular maintenance, such as waxing and repainting. Waxing can increase the gloss and wear resistance of the floor, while repainting can effectively repair wear and scratches on the floor surface.
6. Common problems and solutions
1. Floor lifting
Floor lifting is usually caused by improper installation or changes in environmental humidity. Solutions include repaving warped sections or adjusting indoor humidity.
2. Floor cracking
Floor cracking may be caused by wood quality problems or long-term dry environment. Solutions include replacing cracked floors or increasing indoor humidity.
3. Abnormal noise in the floor
Abnormal noise in the floor is mostly caused by loose keels or loose floor splicing. Solutions include refastening joists or adjusting floor splices.
7. Summary
The installation of sports wood flooring is a highly technical and complicated task. Every aspect including material selection, ground treatment, keel design, wooden floor laying, surface treatment and daily maintenance is crucial. Only by strictly following the specifications can the quality and service life of the wooden floor be ensured. I hope that the detailed introduction in this article can provide you with valuable reference and help you successfully install high-quality sports wood flooring.