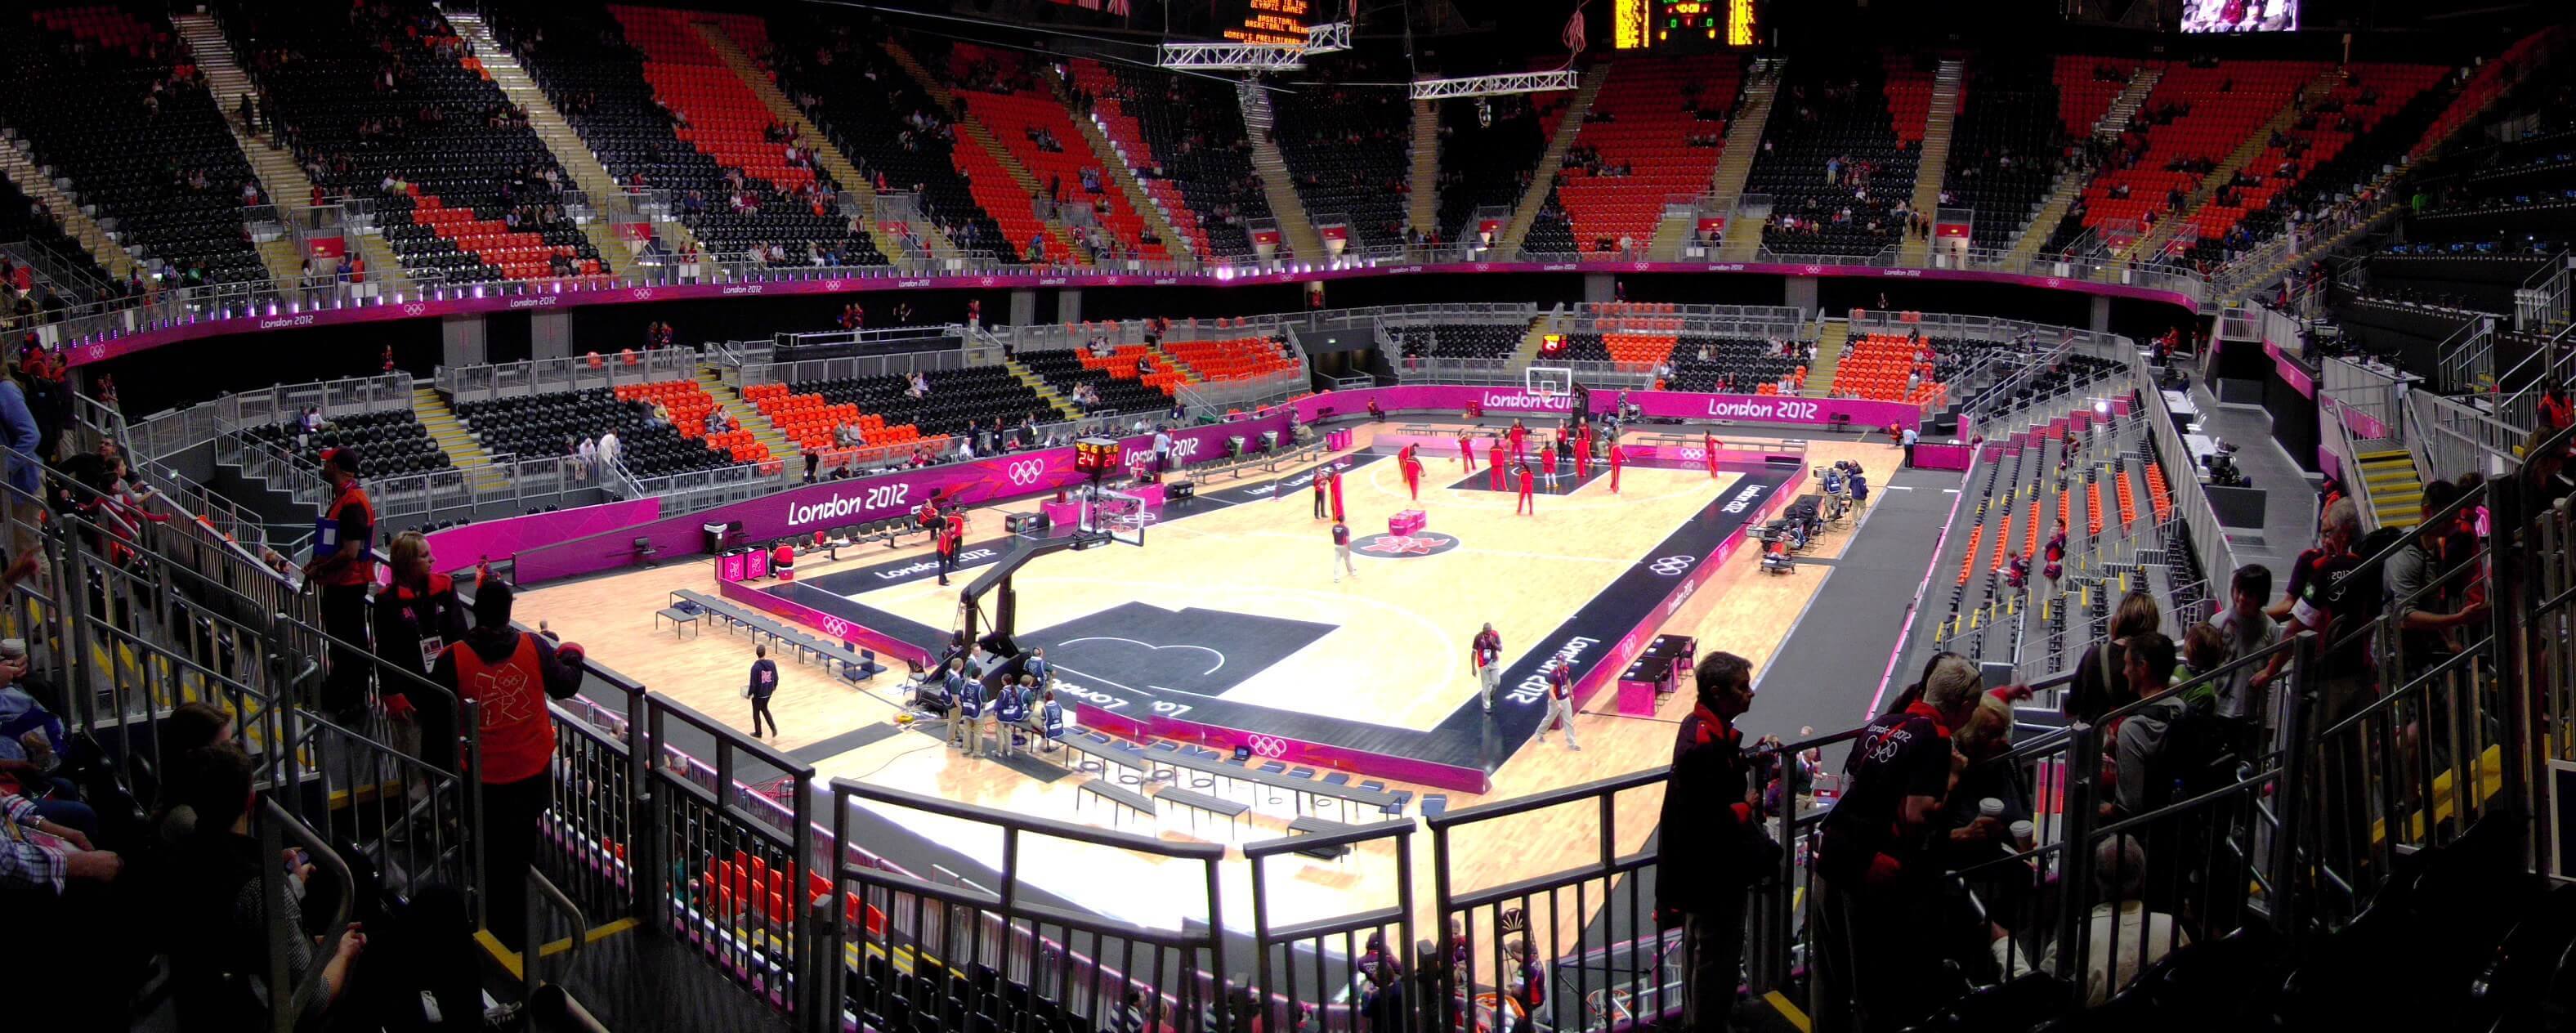
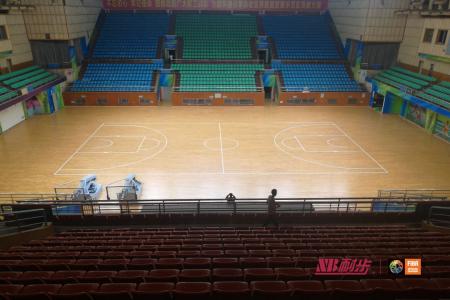
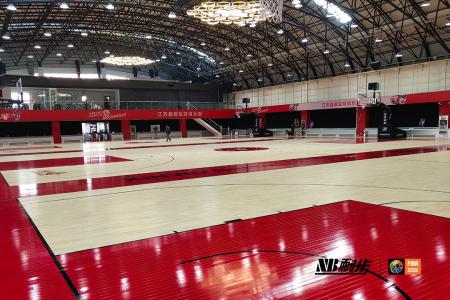
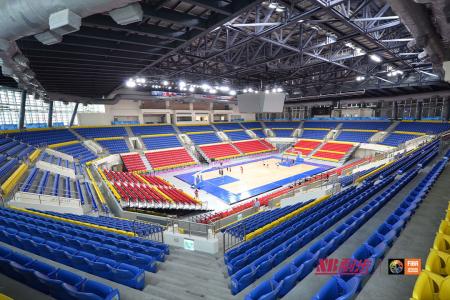
One of the installation steps of sports wooden floor in gymnasium: general construction sequence
Site inspection → construction of moisture-proof layer → anti-corrosion treatment of wooden keel and installation of shock-absorbing pad → installation of wooden keel → installation of plywood layer → installation of wooden floor → grinding and ash filling → paint construction → edge trimming → waxing → cleaning and acceptance.
Gymnasium sports wooden floorInstallation step two: specific technical disclosure
Before the start of construction, organize the operation workers of the production department to study the internal audit construction drawings, and be fully familiar with and master all the construction drawings
content, understand the design intent. The construction difficulties and quality and safety requirements, operation points and precautions of the key parts of the construction are fully disclosed, and the process requirements and quality of the wood floor project, the difficulties in safety control, and the urgency of the construction period are clarified.
Gymnasium sports wood floorInstallation step three: structural keel installation
Site inspection: Check whether the construction site meets the construction requirements. Focus on checking the strength and flatness of the cement base of the site. Whether other work teams at the construction site affect the construction of the wooden floor project. After confirming that the site fully meets the construction requirements, the construction can be organized.
Moisture-proof layer construction: clean the ground. Scum, cement blocks, fan ash putty, etc. that cannot be cleaned should be removed with a shovel first, and then cleaned up.
Solid wood keel installation: Start the wood keel installation. All incoming wooden keels are first treated with antiseptic treatment. First line up the wooden keels on the ground, and use a roller to evenly coat the surface of the wooden keels with anti-corrosion asphalt oil. After one surface is painted, the other surface is painted, and all six surfaces are painted. After the surface of the asphalt oil is dry, lay it flat and set aside for use.
Install a 10mm thick shock-absorbing rubber pad every 400mm on the main keel with anti-corrosion treatment. Play the horizontal line well and control the elevation. Play the main keel and auxiliary keel installation grid lines on the ground. The middle distance of the main keel is 406mm, and the middle distance of the auxiliary keel is 610mm.
After the keel installation grid line is checked and correct, install the main keel, and the installation direction of the main keel is the direction of the short side of the stadium
parallel. Fix with 5*100mm self-tapping screws with a spacing of 350mm, that is, each main keel is equipped with 6 to 7 self-tapping screws. The self-screw is installed in the middle of the rubber spacer. The positions of adjacent main keel joints should be staggered by more than 100mm. When installing, pull the wire at both ends to control the left and right deviation, so as to be straight and smooth. Then pull the horizontal line to adjust the elevation to make the audience level. When adjusting, use the height as the standard, and use the wooden wedge to level the low place.
After the main keel is installed, the secondary keel is installed, and the secondary keel is fixed on the main keel with 4*50 iron nails.The upper surfaces of the main and auxiliary keels are on the same level. After the secondary keel is fixed, pull the wire to level it.
The flatness of the main and auxiliary keels should be controlled within 3mm/2m.
The installation position of the basketball stand and the main keel of the entry passage are encrypted, and the middle distance is 203mm.
Insect-proof treatment: After the wooden keel is installed, before the splint is installed, evenly sprinkle the insect-proof powder on the site for insect-proof treatment. Focus on the door and passage.
Gymnasium sports wooden floorInstallation step four: plywood and floor layer installation
Splint installation: 15mm thick excellent splint is used.
After the wooden keel is installed, use 4*50 self-tapping screws to install the plywood, and the plywood is paved in whole. When installing, the direction of the long side of the splint is parallel to the secondary keel. Leave a 5mm wide expansion joint between the splints. The number of screws for each splint is about 42. After the splint is installed, check and level the whole site, eliminate the high and low seams, and ensure that the splint is stable and flat.
Floor installation: The solid wood floor is transported to the construction site about 3 days in advance, and the packaging tape is removed to ensure that the moisture content of the floor is synchronized with the interior during installation.
The solid wood floor should be selected before installation, and the unqualified products with obvious defects should be eliminated. Due to the natural color difference of the solid wood floor, you can mix and match at will during installation. Avoid heavy rain, humidity and other weather when installing solid wood floors.
The solid wood floor is installed along the short side of the court (that is, the long side of the slats is parallel to the long side of the court). Because there are several lengths of the floor, take random seams (to ensure that the short side of the floor does not pass through the seam, and the staggered seam is more than 50mm), and use F30 gun nails to fix the floor on the plywood base. There are 0.5-0.8mm wide temperature difference expansion joints between the floor strips.
Nail the floor on the plywood before the floor is installed.

